
If your morning coffee hasn’t been tasting right lately, hard water might be the culprit. Even the best coffee makers aren’t safe from hard water build-up.
Those dissolved minerals, primarily calcium and magnesium, don’t just leave unsightly scale on your sink and shower — they’re also building up inside your coffee machine, affecting both flavor and functionality.
Hard water can cause some serious damage. It can clog the internal components of your coffee maker, reduce heating efficiency, and impart a metallic taste to your brew.
Over time, scale buildup might even shorten your machine’s lifespan. Fortunately, determining whether you have hard water doesn’t require professional help.
Here are three simple hard water tests you can try at home.
What is hard water?
Hard water contains high concentrations of dissolved minerals, particularly calcium and magnesium, which water picks up as it passes through limestone, chalk, and others.
While these minerals aren’t harmful to human health, they’re surprisingly destructive to appliances that heat water.
When hard water is heated inside your coffee machine, the minerals precipitate out of solution and form solid calcium carbonate deposits, commonly known as limescale.
How does this affect your coffee?
(Image: © Future)
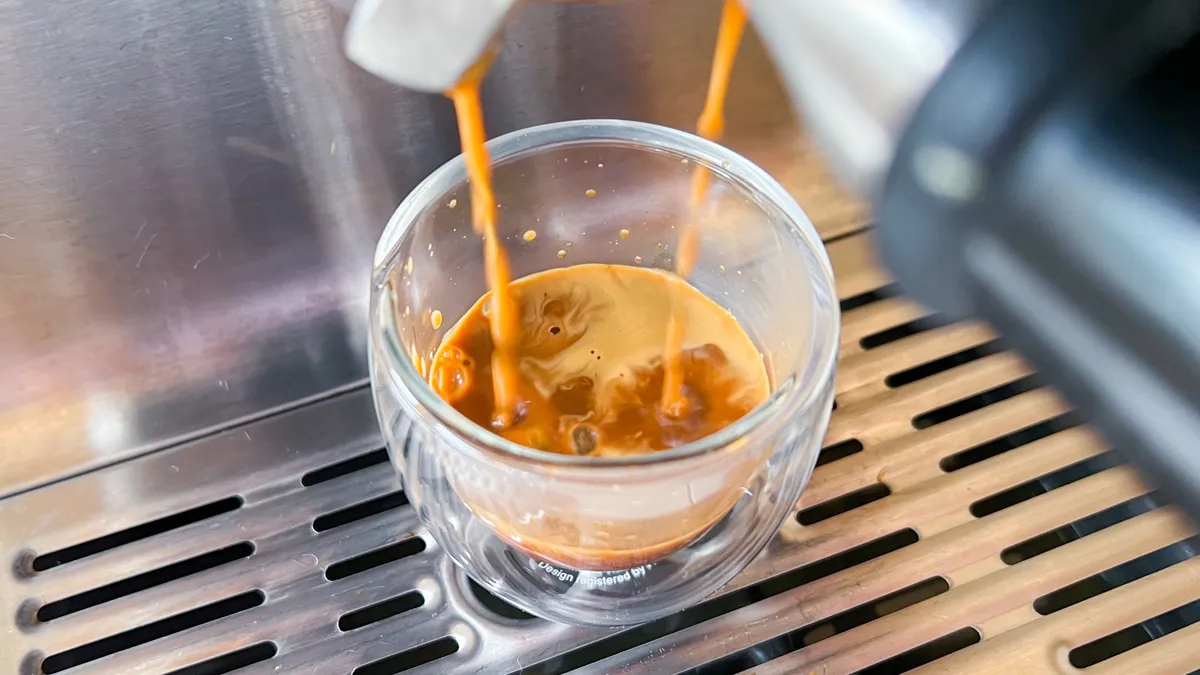
Mineral buildup in your coffee machine can significantly impact both flavor and performance.
Hard water mutes flavor notes and introduces metallic tastes, while limescale buildup interferes with optimal brewing temperatures, leading to irregular extraction.
This not only wastes energy since scaled heating elements require more electricity to reach the right temperature. But it also shortens the lifespan of your machine by accelerating wear on its components.
How to test for hard water: The soap test
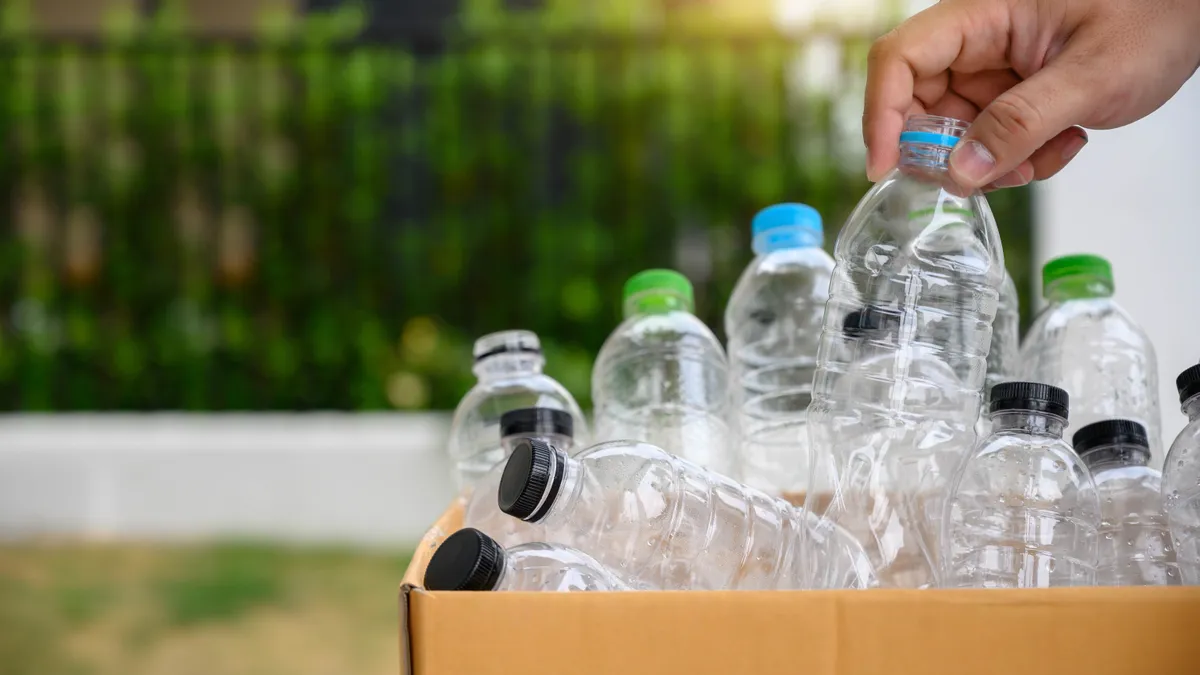
1. Find a clear bottle
(Image: © Shutterstock)
Start with a bottle that can hold at least 12 ounces (360 ml) of water. Ideally, the bottle should have a cap to make shaking easier, but any clear container will work in a pinch.
2. Fill with tap water

(Image: © Tom’s Guide)
Pour exactly 12 ounces of your tap water into the container. Using the correct amount will ensure your test results are reliable.
3. Add liquid soap

(Image: © Tom’s Guide)
Add 10 drops of liquid hand soap to the water. For best results, use hand soap rather than dishwashing detergent, as many dish soaps are formulated to work well even in hard water.
4. Shake the mixture

(Image: © Tom’s Guide)
If your bottle has a cap, secure it tightly and shake the container vigorously for a few seconds.
Without a cap, stir the water energetically until the soap is thoroughly distributed.
5. Check for suds

(Image: © Tom’s Guide)
Look at the top of the water for foam. An abundance of suds indicates soft water, while minimal foam suggests hard water.
If you see few bubbles, proceed to the next step.
6. Add more soap gradually

(Image: © Tom’s Guide)
Continue adding soap in small increments of 5-10 drops, shaking after each addition. Keep track of how many drops you’ve added in total.
The total number of drops needed for good suds formation indicates your water hardness level:
- 20 drops: slightly hard
- 30 drops: moderately hard
- 40 drops: hard
- 50+ drops: very hard
How to test for hard water: Look for visual evidence
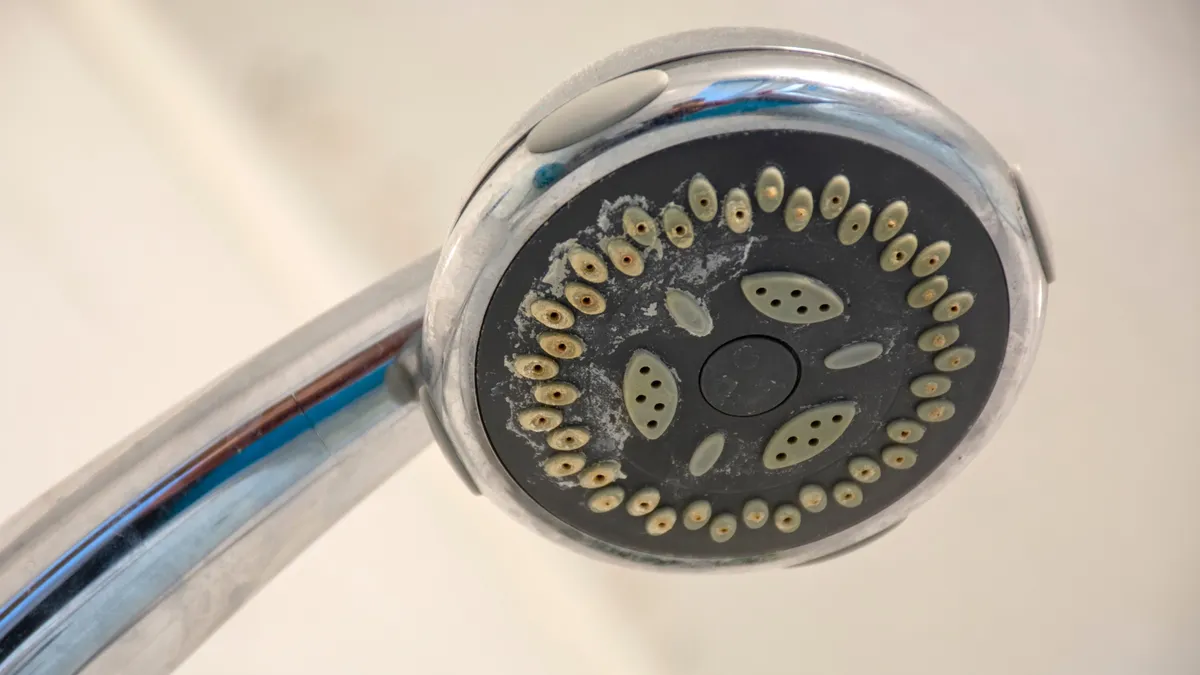
1. Examine your faucets and fixtures
(Image: © Shutterstock)
Check for white, chalky deposits around faucets, showerheads, and the spout of your coffee machine. These mineral deposits are a telltale sign of hard water.
2. Inspect your glassware

(Image: © Shutterstock)
Look for spots or film on glasses and dishes after washing. Hard water prevents soap from rinsing completely and leaves mineral spots when water evaporates.
3. Check your coffee machine components

(Image: © Breville)
Examine visible parts of your coffee maker, especially around water outlets and heating elements. Scale buildup on these external components indicates similar issues inside.
4. Assess your laundry

(Image: © Shutterstock)
Notice if your clothes and towels feel stiff or appear dull after washing. Hard water prevents detergent from working effectively, leaving mineral residue in fabric.
5. Monitor your water pressure

(Image: © Sasikan Ulevik on Unsplash)
Pay attention to decreased water flow from faucets or showerheads, which can indicate pipe scaling.
If hard water is affecting your plumbing, it’s almost certainly impacting your coffee machine, too.
How to test for hard water: Use a testing kit for accuracy
Water hardness test strips are widely available online or at stores that sell water treatment products. These inexpensive strips provide a quick and fairly accurate measurement.
Dip a test strip into your tap water according to the package instructions, usually for just a few seconds. Remove the strip and wait the specified time for the color to develop.
Compare the color change on the strip to the provided chart. Most test kits include a color scale that corresponds to different hardness levels.
You’ve now learned three ways to test for hard water, to make sure your coffee machine stays happy and healthy. While you’re here, why not check out some of our other homes articles?
For Nespresso lovers, here’s why your Nespresso has a flashing red light, and what to do about it. And for those with a Roomba, take a look at how to clean your Roomba for peak performance and how to empty it.


